There’s no option in the Settings app of Windows 10 that lets you customize the Share Menu. So, to customize the Share Menu on Windows 10, you must rely on the Registry hack.
Steps to Enable the “Share Settings” Option in the Windows 10 Settings App
This article will share a step-by-step guide on how to customize the Share Menu on the Windows 10 operating system. The steps are going to be very easy; follow them as mentioned.
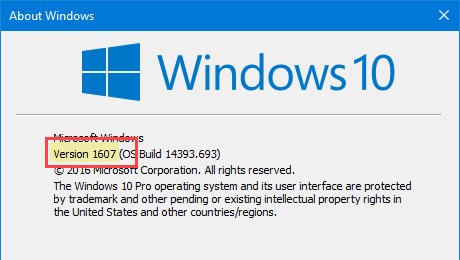
First, press the Win + R keys on your keyboard and then type in “winver” and push the enter button.
This would return you to the About Windows panel. Here you need to check the current Windows version number. Note that if it is 1607 or not because the method we are going to discuss requires 1607 or later.
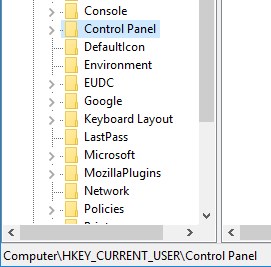
Open the start menu and search for the ‘Regedit‘ keyword. Open the Registry Editor, and navigate to the “HKEY_CURRENT_USER\Control Panel“
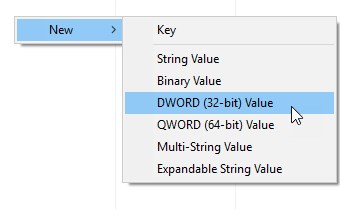
Select the Control Panel key on the left pane. Right-click on the right pane and select the “New” option, followed by the “DWORD (32-bit) Value“. This is done to create a new blank DWORD value. Name the new value “EnableShareSettings“.
The new DWORD you have just created would have the value data of 0 by default, but you have to change the value to 1. To do that, double-click on the value data and enter 1 on the Value data field. Once done, click on the Ok button.
Restart your system, and then you can see your new Share Settings page. To access the new share settings page, click on the Notifications icon and select the option “All Settings.” Now inside the settings app, navigate to the System, and you will see a new option, ‘Use these apps to share’.
That’s it! This is how you can enable the Share Settings option in the Windows 10 Settings app. If you need more help enabling the Share Settings option in Windows, let us know in the comments below.


