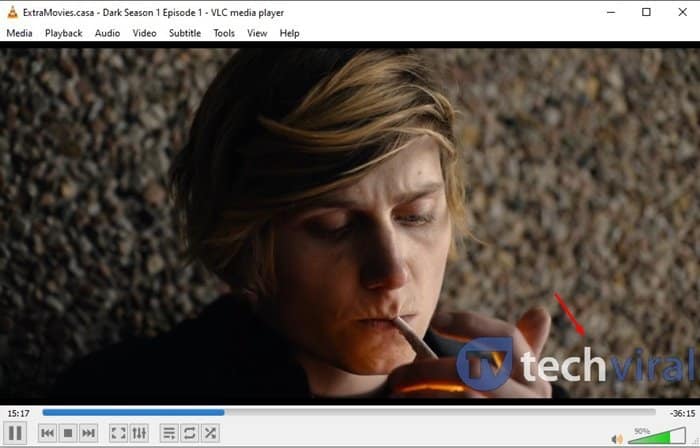
Apart from regular video playback, a VLC media player can be used for various purposes. For instance, you can use it to cut your favorite video clips, watch 3D movies, etc. Recently, we discovered another best VLC media player trick that lets you add watermarks to videos. So, if you have the VLC Media player app installed on your PC, then you don’t need to install any other video editing apps to add watermark on your original videos. You can rely on a VLC media player to add logos or watermarks to your videos. Also Read: How to Cut Videos Using VLC Media Player in Windows 10
Steps to Add Watermark to Videos Using VLC Media Player
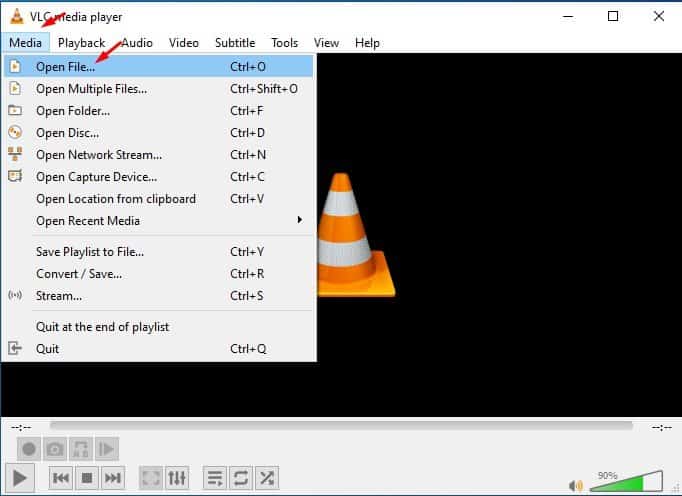
In this article, we are going to share a detailed guide on how to add logos or watermarks to videos via VLC media player. Let’s check out. Step 1. First of all, launch the VLC media player app on your PC.
Step 2. Now, open the Video in which you want to add the watermark.
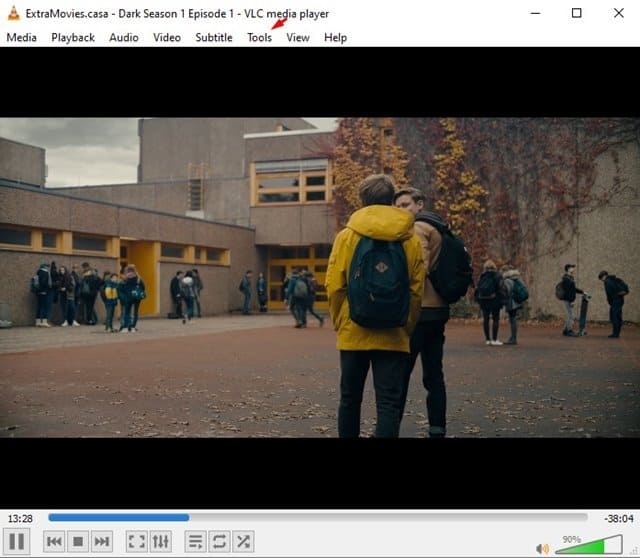
Step 3. Next, click on the ‘Tools’ tab.
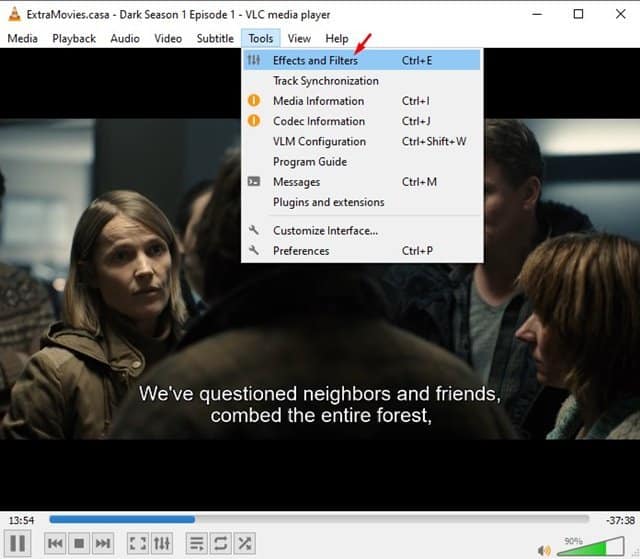
Step 4. From the drop-down menu, select ‘Effects & Filters’
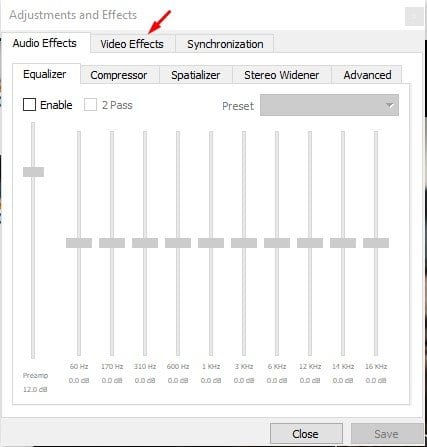
Step 5. From the next pop-up, select the Video Effects tab.
Step 6. From the Video effects option, select the ‘Overlay’ tab.
Step 7. Enable the ‘Add logo’ option and locate the watermark file.
Step 8. Now set the line adjustment (Top & Left) and opacity. Once done, click on the ‘Save’ button. Step 9. Once done, you will see the watermark on the video. You just need to record the video by following our guide – How to Cut Videos Using VLC Media Player in Windows 10
That’s it! You are done. This is how you can add images or watermarks to videos via the VLC Media player app. Note: If you cannot find the ‘Logo’ option in the VLC media player, you might be running an outdated version of VLC. Make sure to download & install the latest version to get the feature. This article is all about adding a watermark to videos using a VLC media player in Windows 10. I hope this article helped you! Please share it with your friends also. If you have any doubts related to this, let us know in the comment box below.

